The Lutron RA2 Select System - Simple to set up and use Smart Home System
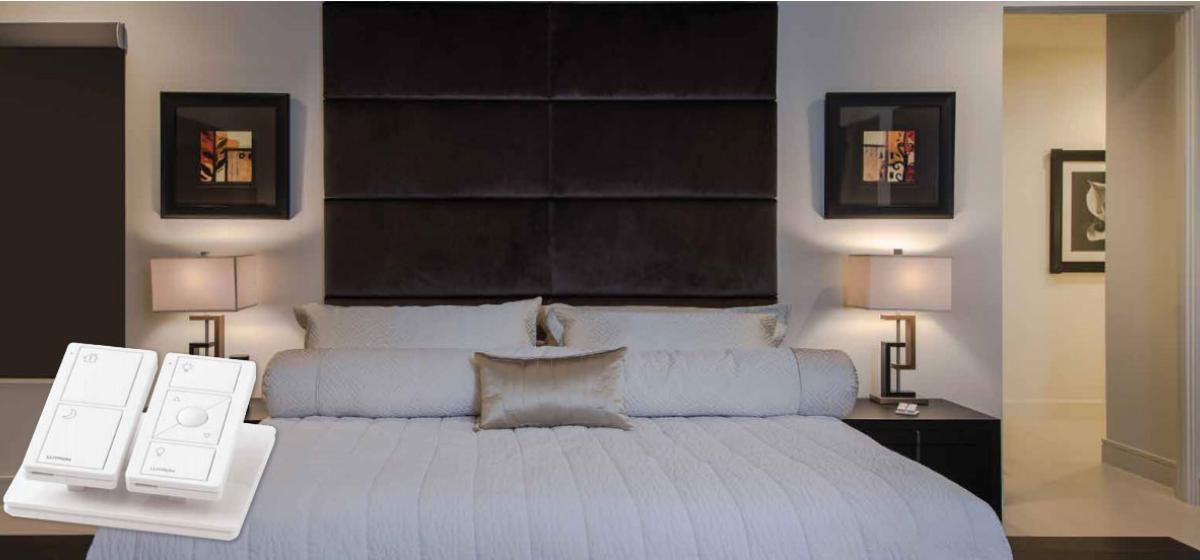
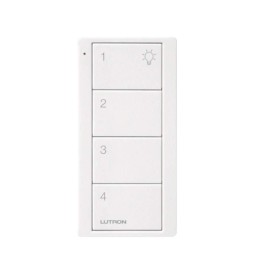
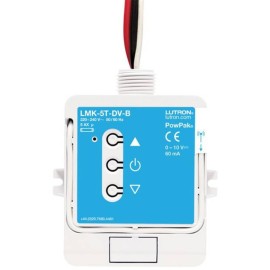
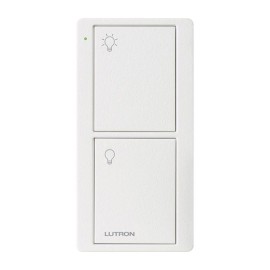
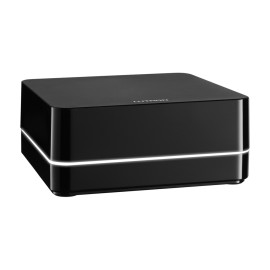
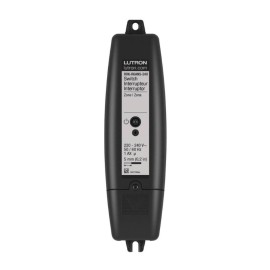
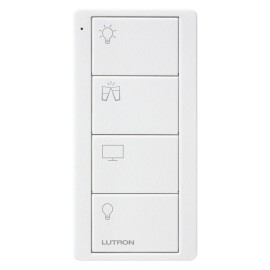
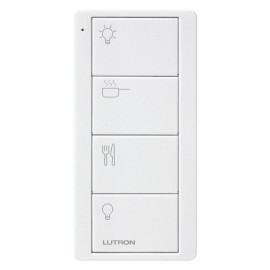
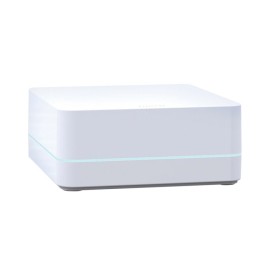
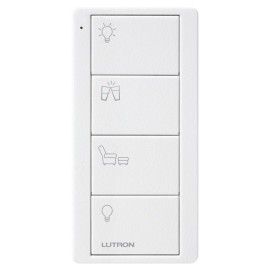
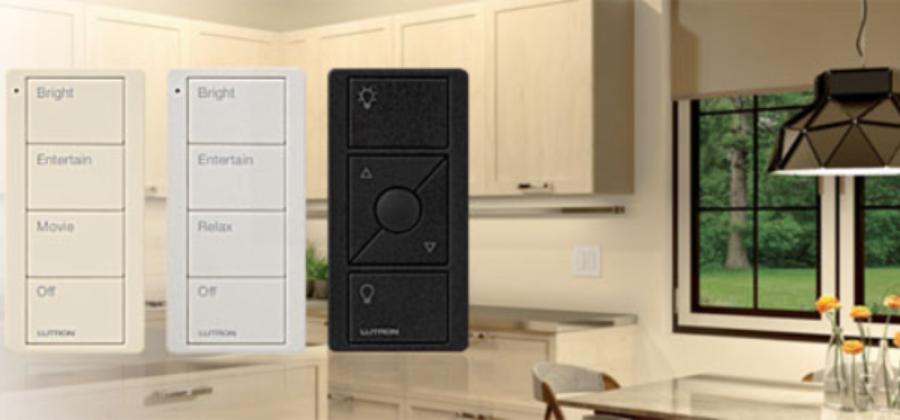
The Lutron RA2 Select system is a simple and easy to set up (and use) smart home system. In this article we offer a comprehensive guide on how to setup and install your Lutron RA2 Select system, and use its many features. The whole home lighting system allows you to enjoy personalised smart lighting and shade control, in whatever type of home you live in. It offers increased peace of mind and greater management of your home’s ambience - even when you’re not around. We here at Sparks hope that these series of instructional videos (along with our explanations) will make setting up your Lutron RA2 Select an easy affair. Our directions will be simplified, so make certain you watch each video in its entirety. Lutron RA2 Select System - System OverviewThe RA2 is a smart home system that can be wirelessly controlled by the free RA2 Select app. The system is managed via Pico controls - whether they be remote apps, pedestal mounted or wall fixtures. The Pico grants you control over features such as altering lights and blinds, in-line dimmer switches or audio systems. System integration allows for interaction with many other popular home systems including Nest, Google Home, and Alexa. We will explain each individual feature in more detail under the appropriate video. Lutron RA2 Select Dimmer Install InstructionsWhen installing a Lutron RA2 Select dimmer, ensure the power is switched off for the area you are working in. Remove the light fitting in the setting to access the cabling. The live, neutral and earth wires will connect with their respective terminal in the dimmer. Next, repeat this process with the additional ‘load-out’ output cable to the dimmer. Install the strain relief, tighten the screws and finally screw in your end cap. Attach the output to the lamp you want to be dimmable - and as easily as that you have added a dimmable light to your Lutron RA2 system! Lutron RA2 Select - System setup (Contractor version) Download the Lutron app from the iTune App Store or Google Play Store and connect to your home’s WiFi. Agree to the terms and conditions and then tap on ‘contractor’ setup to enter key information, such as your company name. Connect the Ethernet cable to the router and then plug this into a wall outlet. Tap a button to connect with the ‘main repeater’ of the RA2 system. Add your Lutron devices, following the on-screen instructions: here you can manage the room it will be located in, which lights will be dimmable and other control features. Lutron RA2 Select - System Setup (Contractor) - continuedAfter adding additional Lutron devices, it is time to communicate with the homeowner. In the Devices part of the app, click on the ‘Send Homeowner invite’ button where you can enter the homeowners email address or update your own contact details. The email will automatically contain important information on how you have set up the system - just add a personalised message (and additional pertinent details). The Lutron RA2 Select Pico Install InstructionsAs discussed previously, there are a variety of Pico control types. This video looks at the 4 button picture control with a single faceplate. To install, firstly unscrew and disconnect the existing screw from the wall. In the now empty wallbox, terminate the now useless wires with caps. Screw in the Pico backbox, and slide the Pico picture control into place. Put the final outer plate on and there you have it: a smart Pico control installed for a smart system! Lutron RA2 Select - How to Add a SensorSensors can be added to your RA2 Select to add motion detection to your home. They can then automatically turn on or off your dimmers and switches in the appropriate room. Simply go to your Lutron Select RA2 app and then go into Settings, before clicking ‘Add Device’. From here, choose occupancy or vacancy sensor. Press and hold the lightbulb icon on your physical sensor until the LED light begins to blink rapidly. Tap the room where you want the sensor to be located and then press ‘next’ to finish the set-up. Lutron RA2 Select - Create a Favourite Scene ‘Scenes’ is a useful tool for managing a room’s atmosphere using shades, light levels and audio systems. Go the the RA2 app and the ‘Scenes’ menu, before clicking on ‘Add Scene’. Enter basic information about your scene: it’s name and a descriptive icon. Now select the devices for the scene: you could choose either table or floor lamp (for example). Pick the level of brightness you desire, and create the mood you want for your personalised space. The RA2 Select: smart home lighting at an affordable price As described in this guide, the RA2 Select is an excellent home lighting option, which offers many smart features, all easily controlled via the ‘Pico’ units. The In-Line Switch uses Clear Connect RF technology that allows for contact between all RA2 Select devices. The key advantages that the RA2 Select offers to your home lighting are: Scheduling - It automatically adjusts at set times of day. Geofencing - The system controls lights based on your location. This is useful as it can, for example, tell you when you left the lights on in an unoccupied home. Smart Away - this feature randomly turns lights on and off in the evening (in an unoccupied house) to ward off potential thieves. Remote Access - you can control your lighting wherever you are in the world. We hope this guide has shone light on any questions you may have had about installing the Lutron RA2 Select system, and its many applications!


